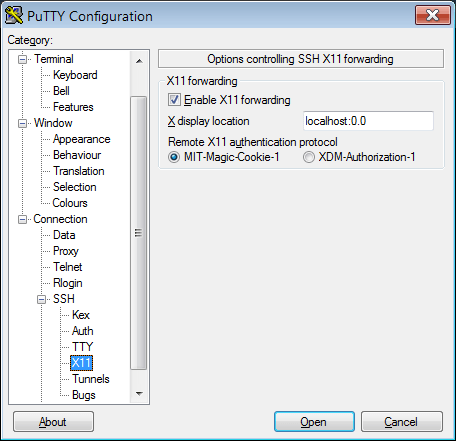
As a Linux administrator, our routine tasks primarily involve command-line operations. However, utilizing an Integrated Development Environment (IDE) offers several benefits, such as code completion and the ability to set breakpoints. Before we can begin using an IDE like PyCharm, it’s essential to ensure that X11 forwarding is properly configured. Let’s begin by setting up X11 forwarding.
X11 Forwarding
On my RHEL 7 server, I’ve installed X11 and gedit (for testing purposes), and I’ve made the necessary modifications to the ‘sshd_config’ file to enable X11 forwarding, as demonstrated below. On my Windows machine, I’ve installed an X Display server named ‘Xming and then ran ‘XLaunch’ with its default settings.
yum install xorg-x11-xauth
yum install gedit

#sshd config file
vi /etc/ssh/sshd_config
X11Forwarding yes
X11DisplayOffset 10
X11UseLocalhost yes
AddressFamily inet

systemctl restart sshd
Initiate a new SSH session to the Linux box with X11 forwarding enabled as shown below.
During the initial login with X11 enabled, a file named ‘.Xauthority’ is generated in the user’s home directory, and the DISPLAY environment variable is configured. If this process fails to create ‘.Xauthority’ and set the DISPLAY variable, it indicates a problem. Adding the option ‘AddressFamily inet’ to the ‘sshd_config’ file typically resolves this issue. I encountered no problems using the latest Putty version 0.78, but I did face some issues with SecureCRT.
If you switch to the root user using ‘su,’ additional steps are required to enable X11 forwarding. X authentication relies on cookies, so it’s essential to configure the cookie associated with the user who initiated the connection and then set the DISPLAY variable accordingly. Skip this step , if you are not switching to the root user.
#Before becoming root, verify the Display in use.
[jjames@nycpytdev1 ~]$ echo $DISPLAY
localhost:11.0

#Get the cookie corresponding to the Display; 11 in this case.
[jjames@nycpytdev1 ~]$ xauth list
nycpytdev1/unix:13  MIT-MAGIC-COOKIE-1  20b0c534a6868c2bfc26ad774ae7d250
nycpytdev1/unix:10  MIT-MAGIC-COOKIE-1  3e70029243a246fa330254c68a8724db
nycpytdev1/unix:11  MIT-MAGIC-COOKIE-1  9db251b8390b2fa6365c43fd3eb15655

#After becoming root add the cookie & set the DISPLAY.
[jjames@nycpytdev1 ~]$ sudo su – root
[root@nycpytdev1 ~]# xauth add nycpytdev1/unix:11  MIT-MAGIC-COOKIE-1  9db251b8390b2fa6365c43fd3eb15655
[root@nycpytdev1 ~]# export DISPLAY=localhost11:0
PyCharm
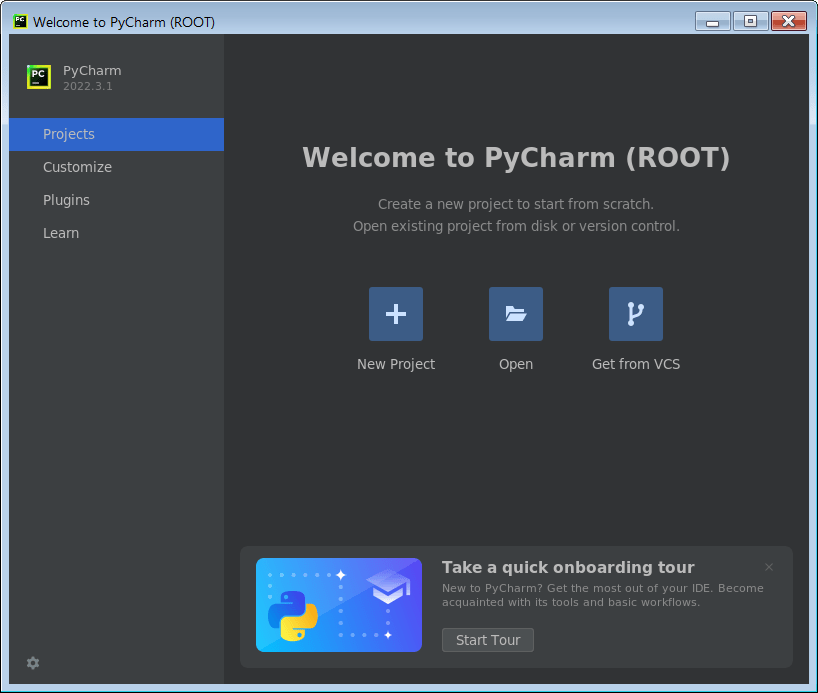
With X11 forwarding successfully configured, let’s explore PyCharm. My RHEL7 system is already equipped with both Python 2.7 and Python 3.6. Furthermore, I’ve installed several external Python packages, including validators, netaddr, paramiko, and others, using the ‘pip’ command. I’ve obtained the free community version of PyCharm, ‘pycharm-community-2022.3.1.tar,’ and after extracting it, I launched PyCharm with the command ‘pycharm-community-2022.3.1/bin/pycharm.sh.’ This action presents the following screen.
Starting a new project: Click on ‘New Project,’ where you’ll be prompted to define the project’s location and select the Python Interpreter to be utilized. Additionally, I opted to create the ‘main.py’ file within my project to examine its contents.

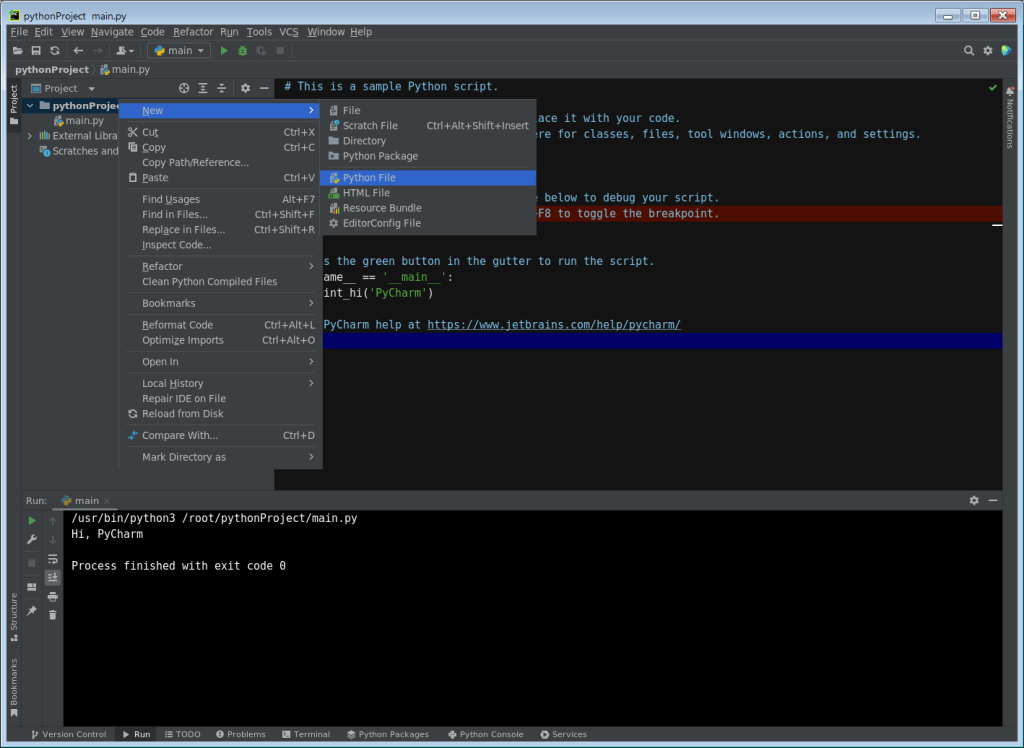
Add files to project: To include a new file in the project, go to ‘File –> New –> Python File.’ If you wish to add an existing Python file, you can easily copy it to the project’s location using the terminal, and it will automatically appear within the IDE under the project.
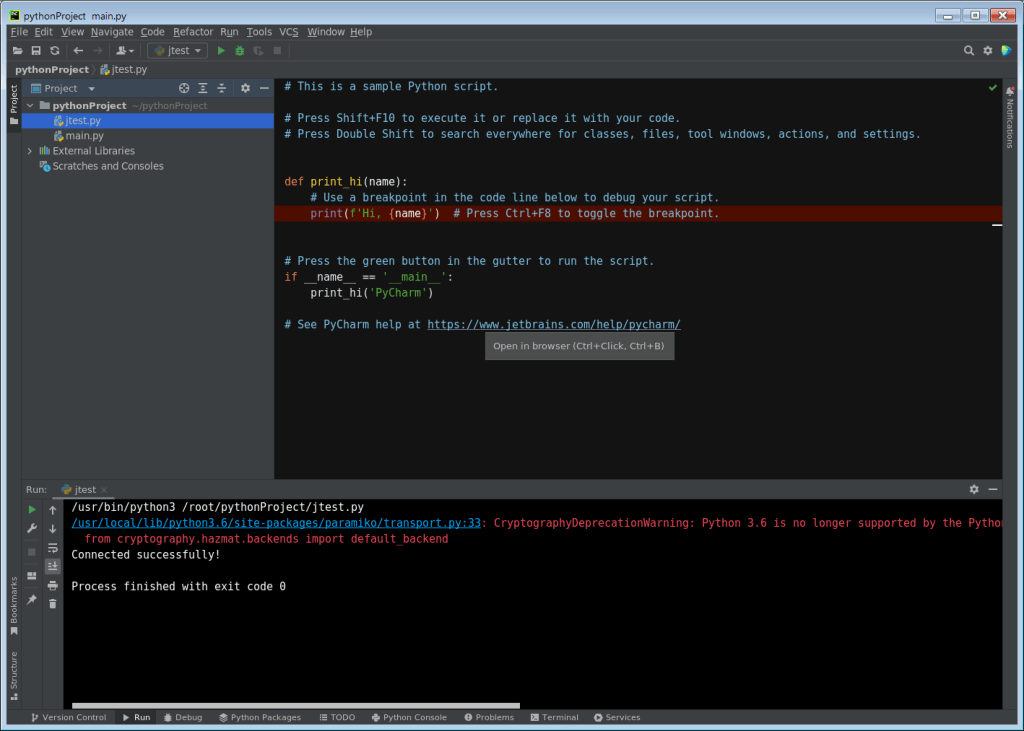
Running a file: Choose the desired file, then navigate to ‘Run –> Debug –> Edit Configuration.’ Set the ‘Script path’ to the absolute path of the file. This step must be performed for each Python file within the project; otherwise, the ‘Run’ button will remain disabled. Ensure that a Python interpreter is also selected.
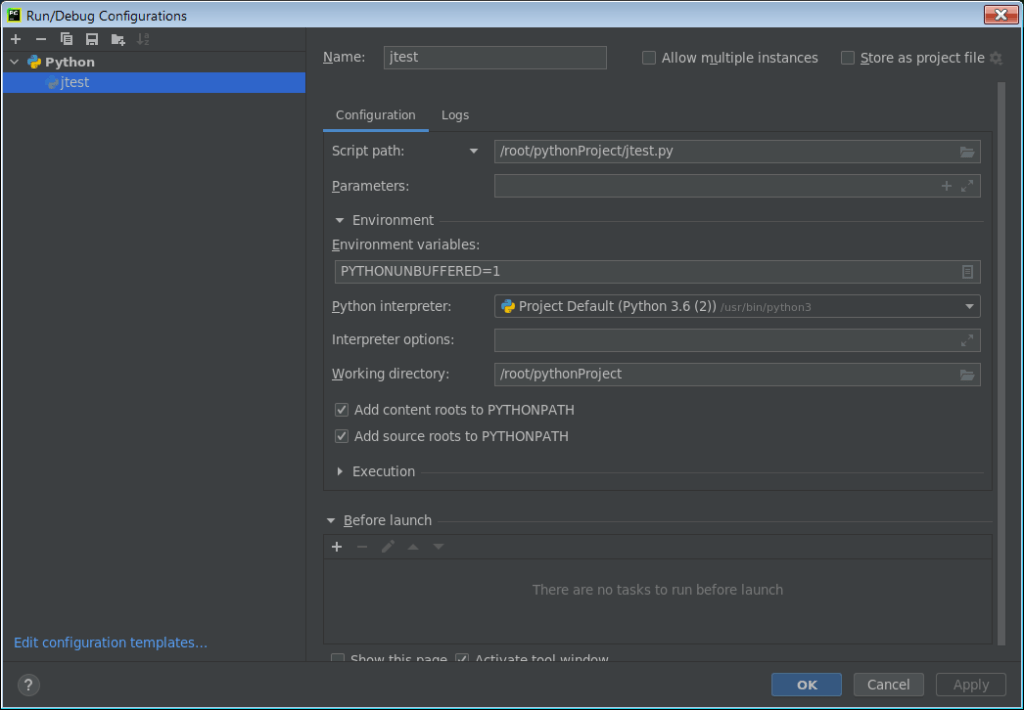
Click the Play button or SHIFT + F9 to run it.
In this brief introduction, I’ve presented one of the well-known Python IDEs, PyCharm. If you prefer a less cluttered environment within the IDE, you can explore ‘View -> Appearances -> Distraction-Free Mode.’ Additionally, under ‘View -> Appearances’ choose to display only the ‘Main Menu, Toolbar, Navigation Bar and Tool Window Bars’ to create a more streamlined IDE experience.
